Node.js, part 2 of 4
Creating an Entry Level Node.js Project
In this project, we will explore how to,
-
Reading and Writing Files
-
Creating a Simple Web Server
-
Page Routing
-
Building a Simple API
-
HTML Templating
-
Parsing Variables from URL
-
Downloading the Project from Github
Create a folder named ‘NodeList’ and download the source code from the provided link.
https://github.com/oguzhanpeker/node-list.git
Installing the Node Modules
To install the necessary Node.js modules, open the terminal in VS Code and execute the command provided.
npm install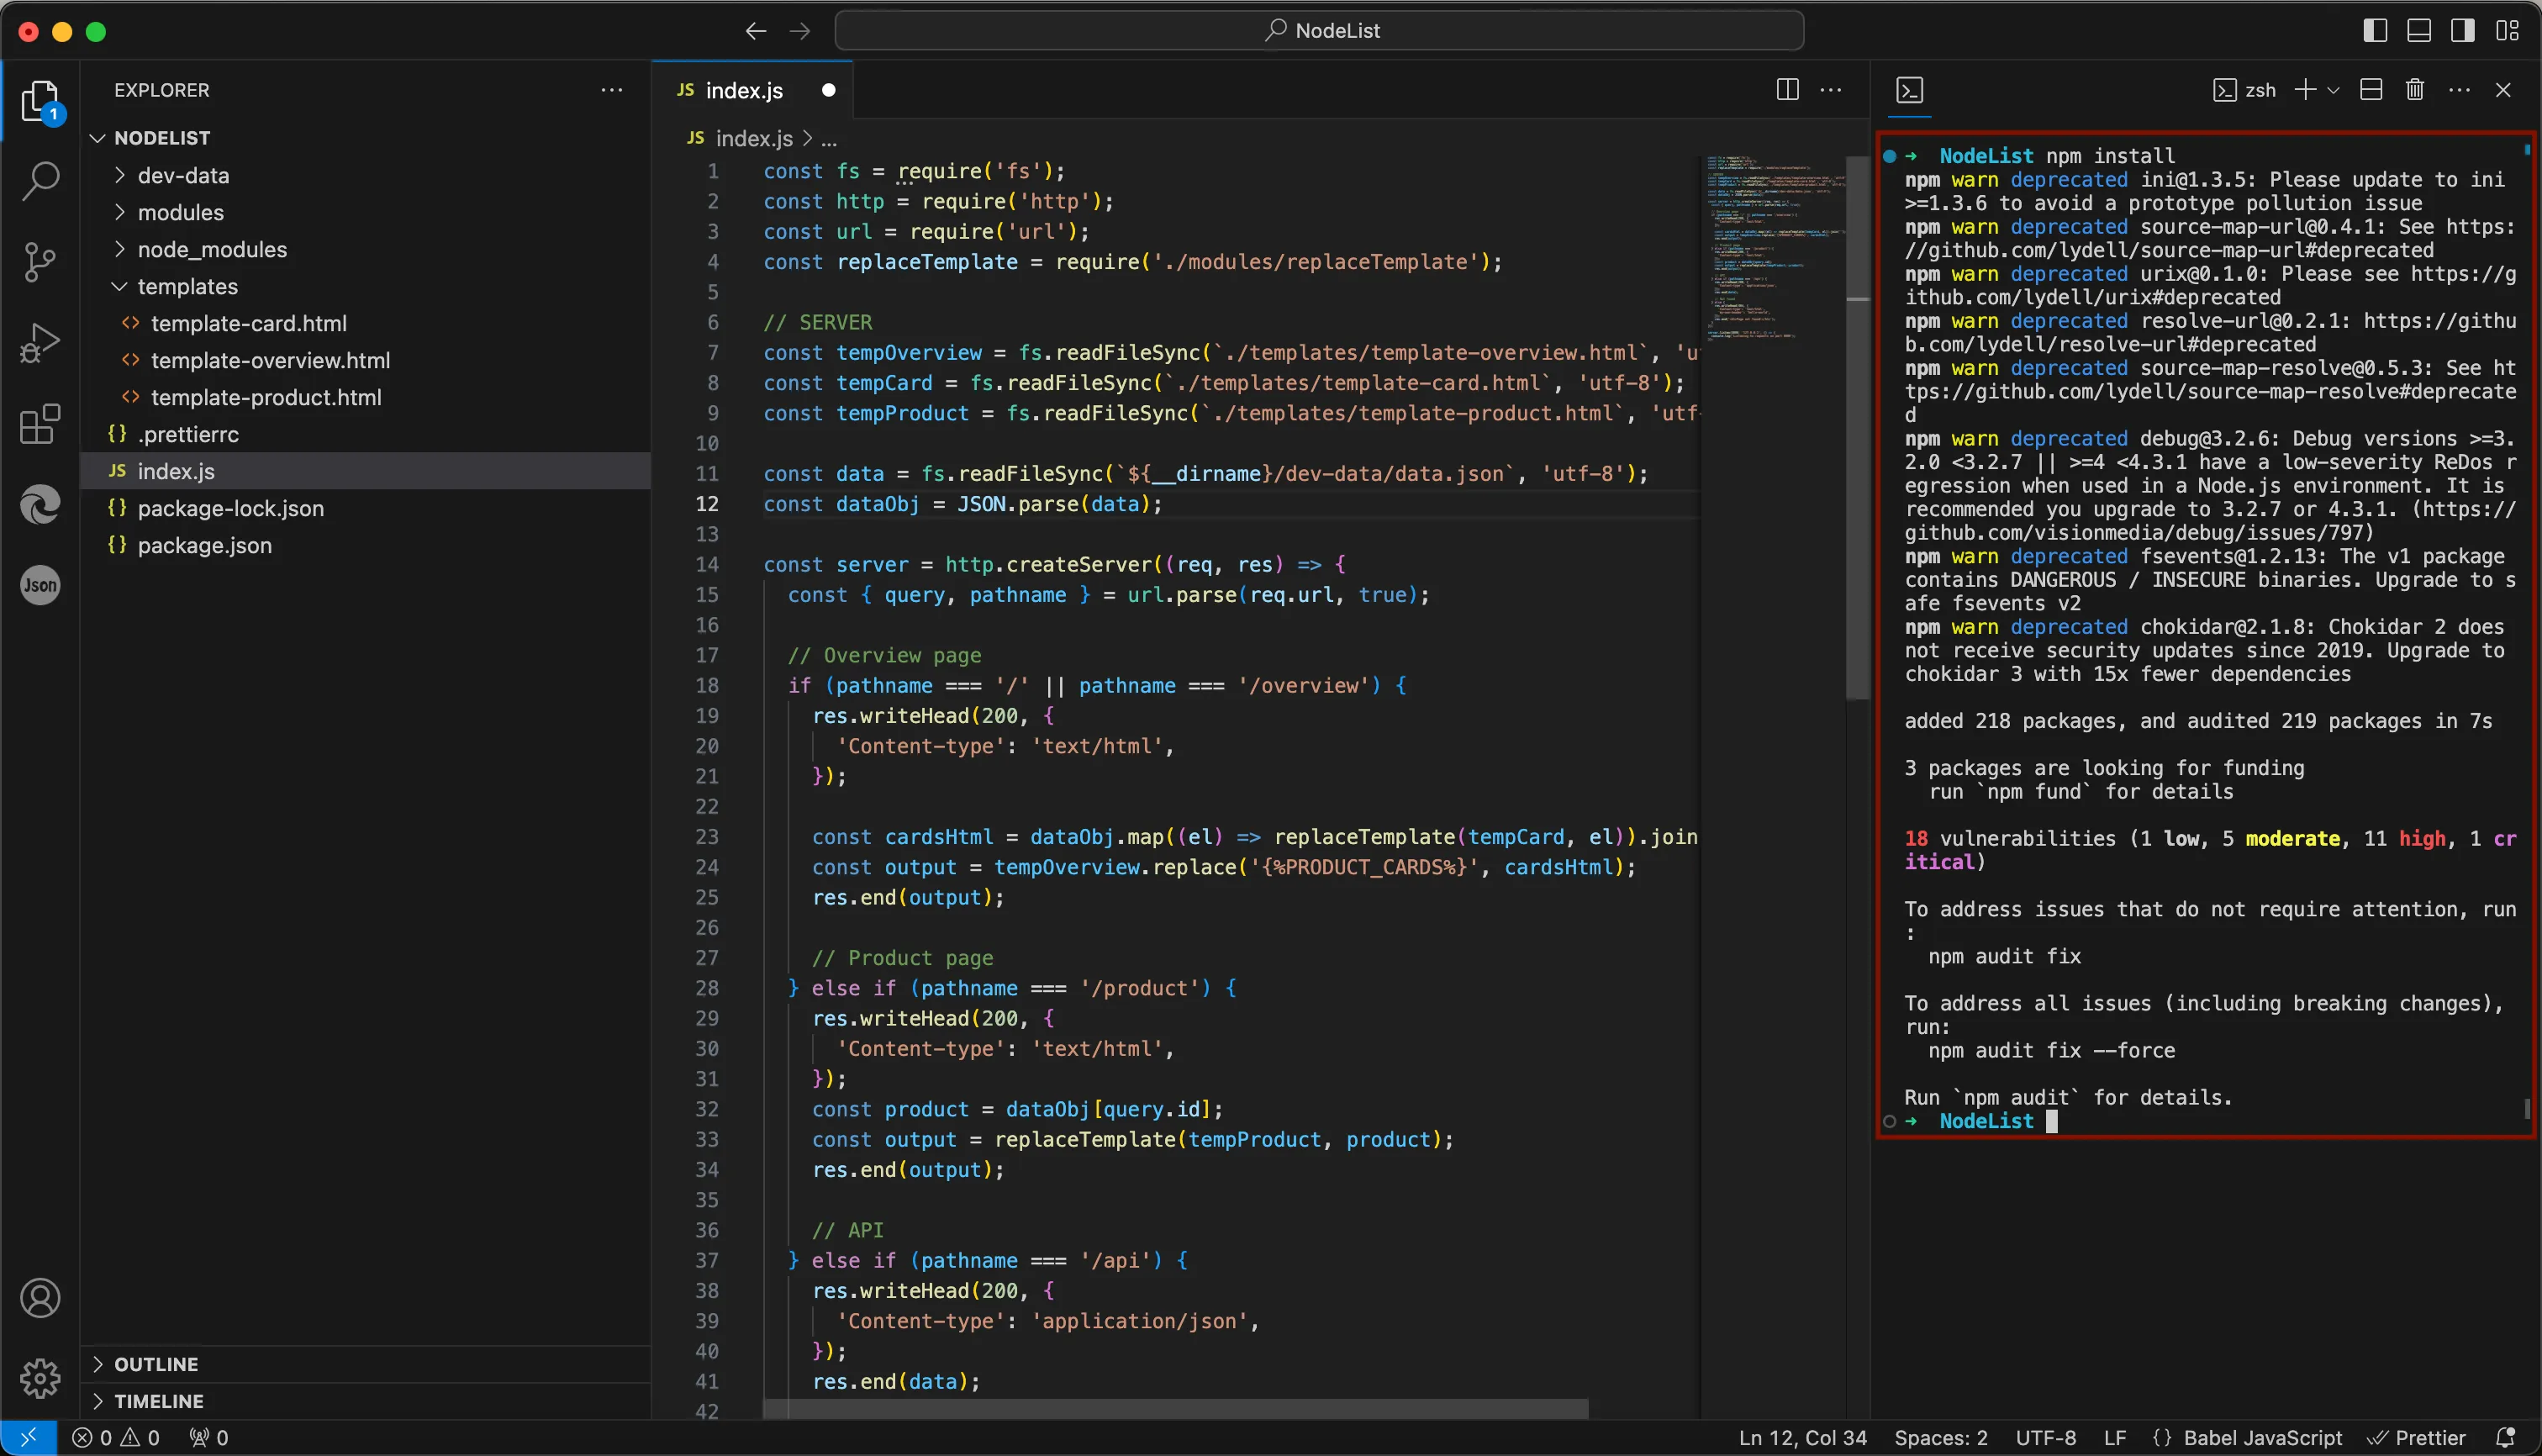
Running the Web Server
The Nodemon developer package will be utilized for testing the application. Nodemon is a tool that helps develop Node.js based applications by automatically restarting the node application when file changes in the directory are detected. It’s defined in the ‘package.json’ file.
{
  "name": "node-list",
  "version": "1.0.0",
  "description": "Learning node.js",
  "main": "index.js",
  "scripts": {
    "start": "nodemon index.js"
  },
  "devDependencies": {
    "nodemon": "^1.19.4"
  }
}
To initiate the webserver, execute the specified command in the terminal.
npm run start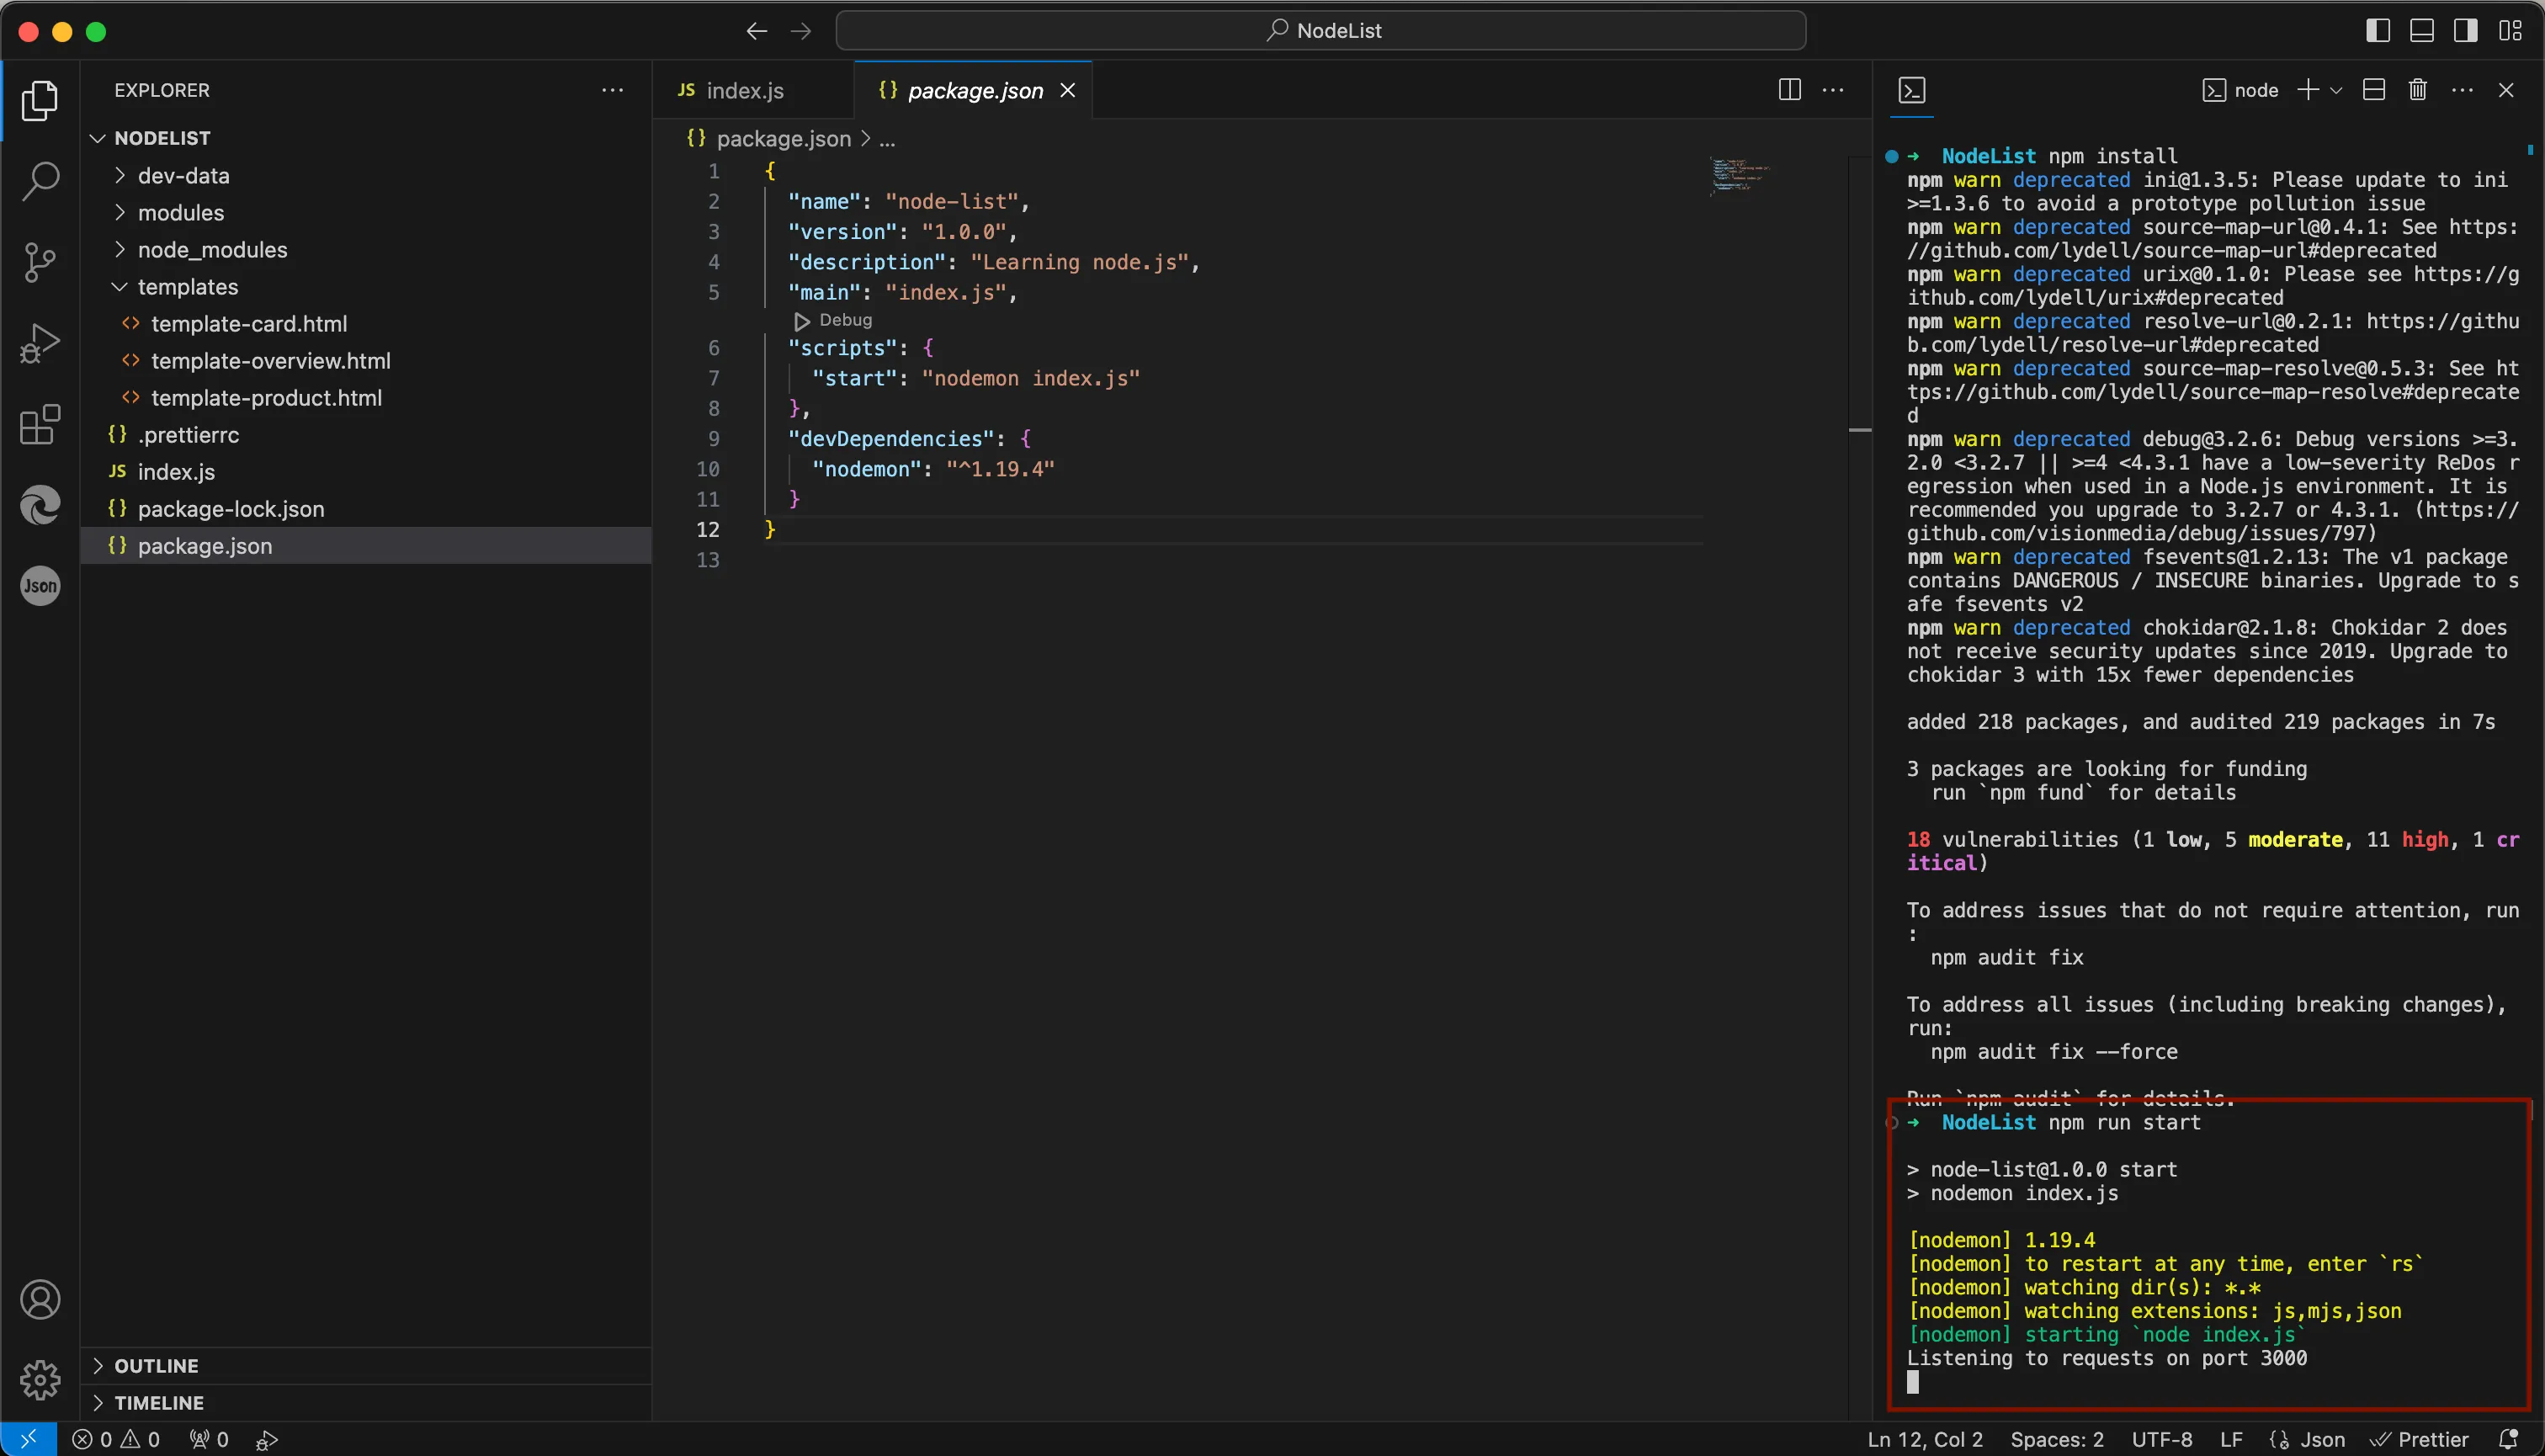
Testing the Application
Launch the web browser and proceed to the ‘localhost:3000‘ address. The address is defined in the ‘index.js’ file.
In the project’s root directory, there is a folder named ‘dev-data’. Within this folder, you can locate the ‘data.json’ file, which contains the application’s content in JSON format.
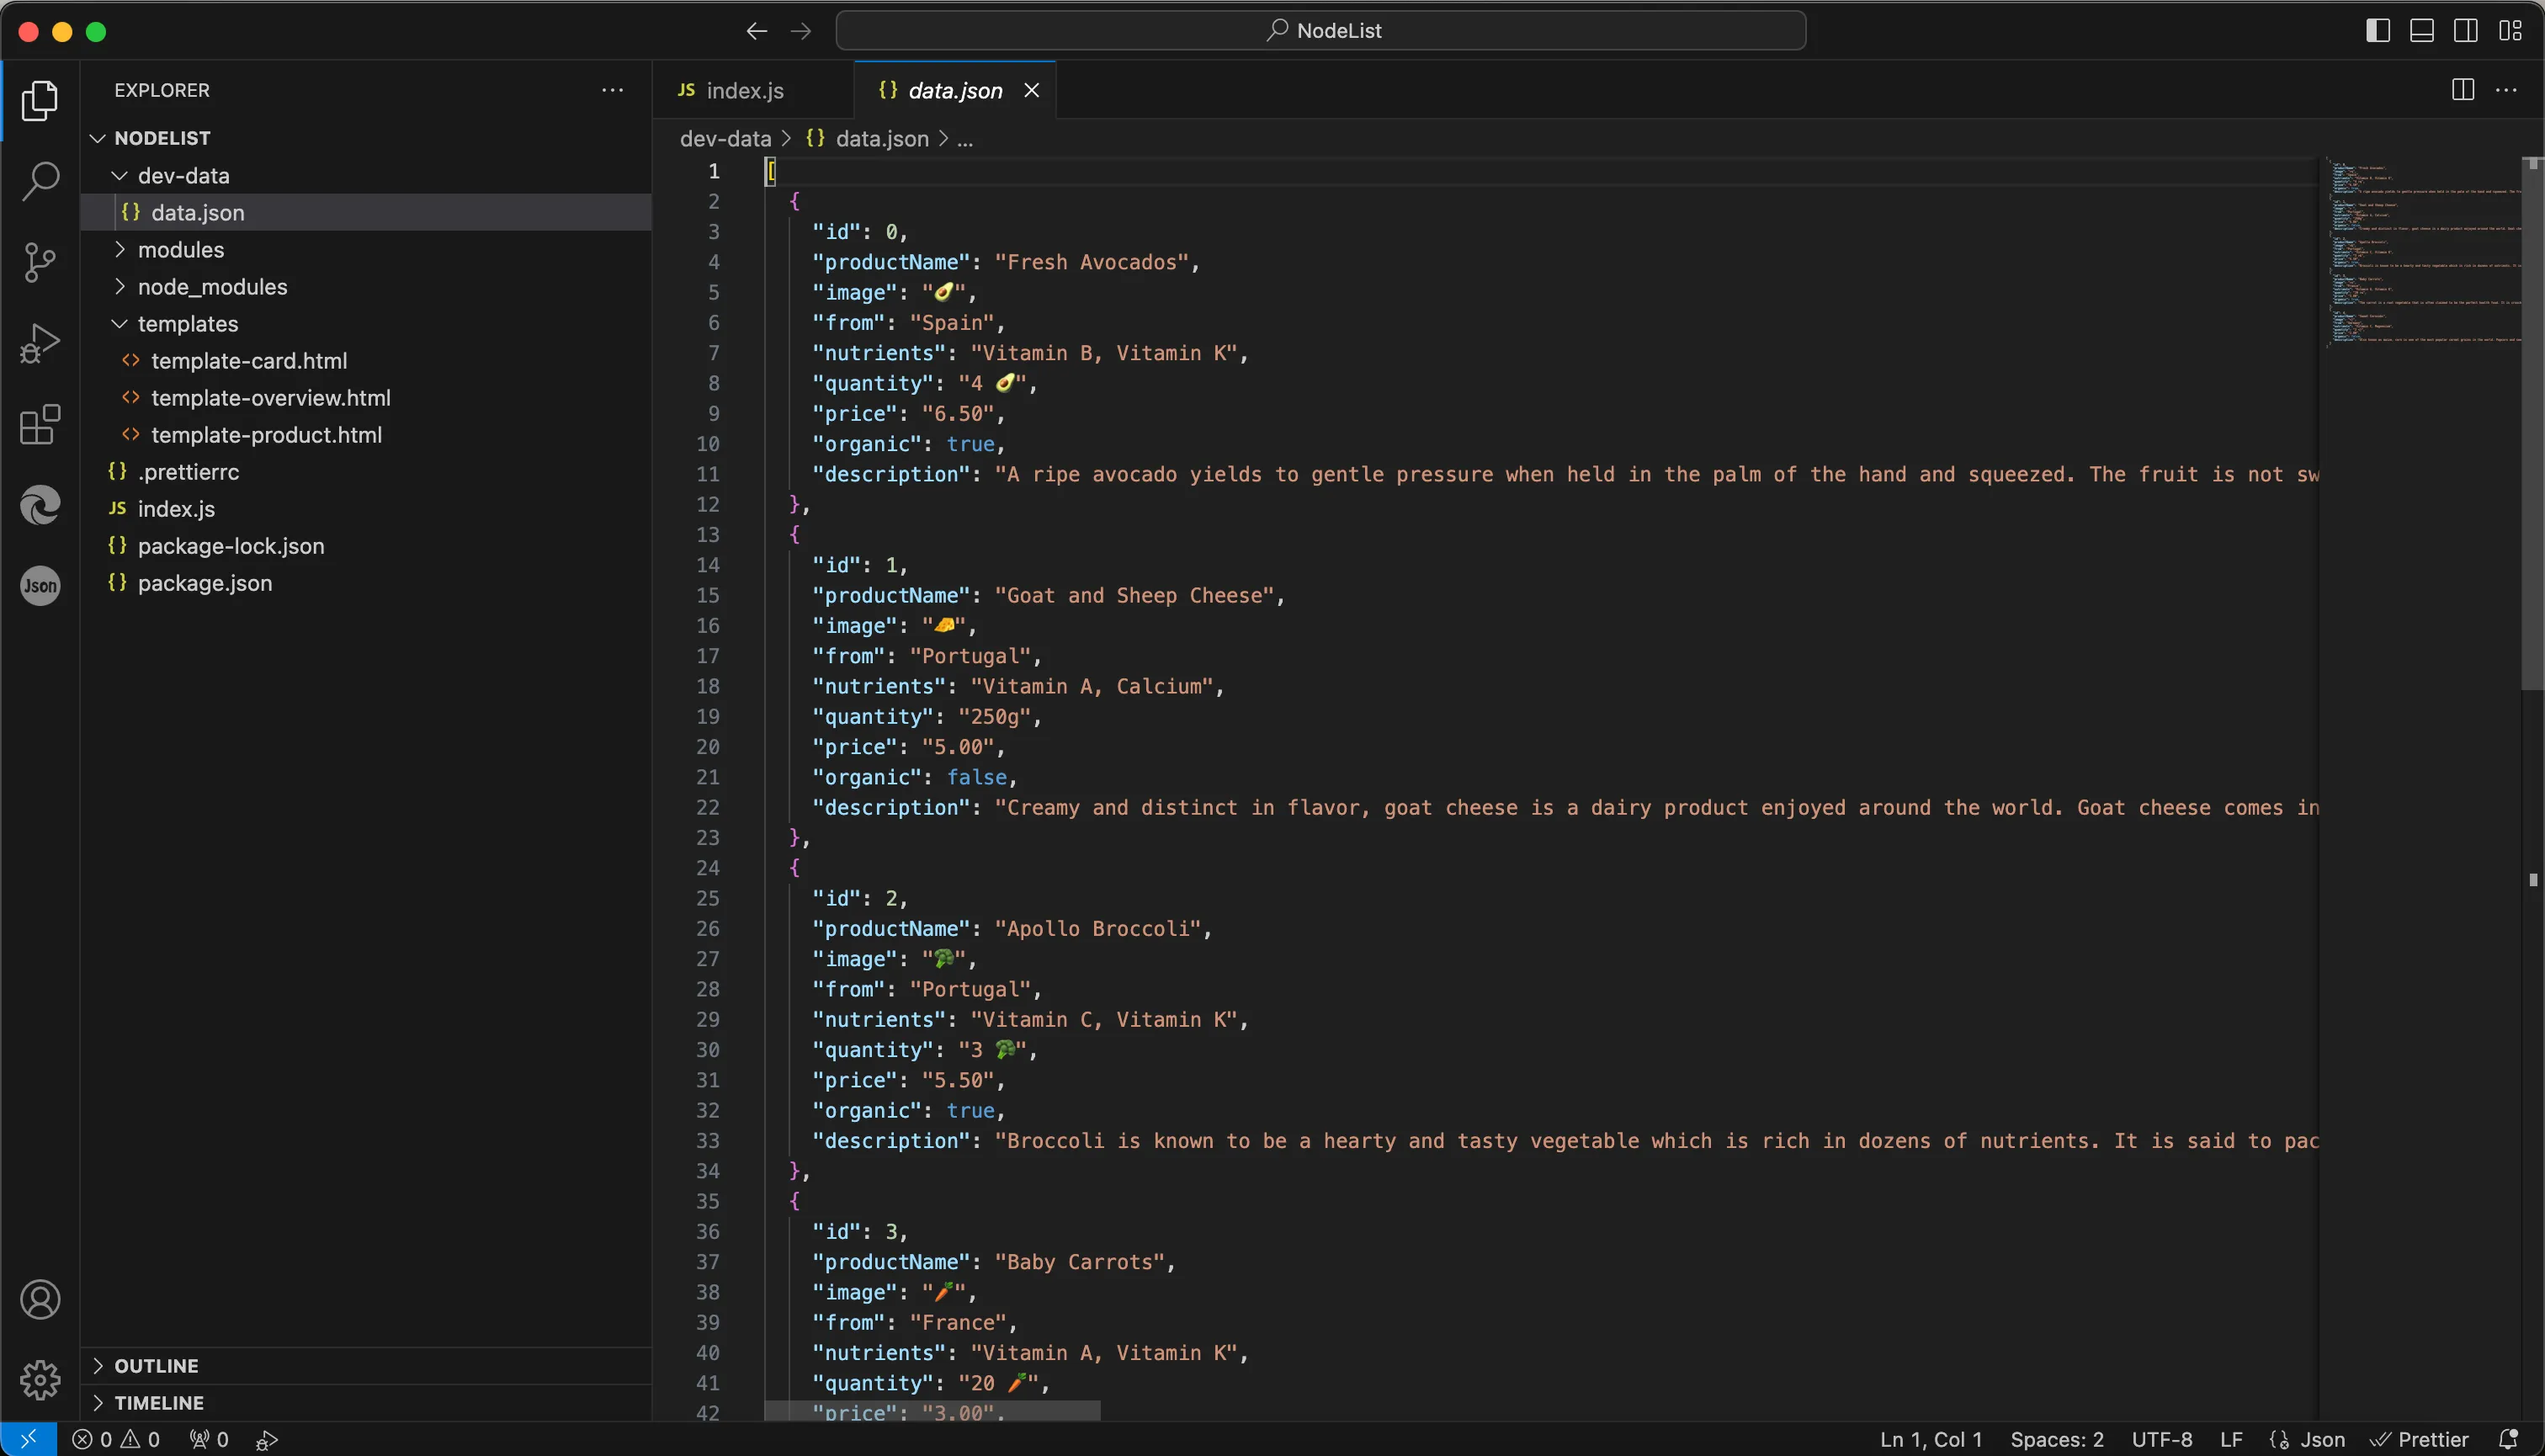
There is another folder called ‘templates’ that you will find the HTML templates of the web pages.
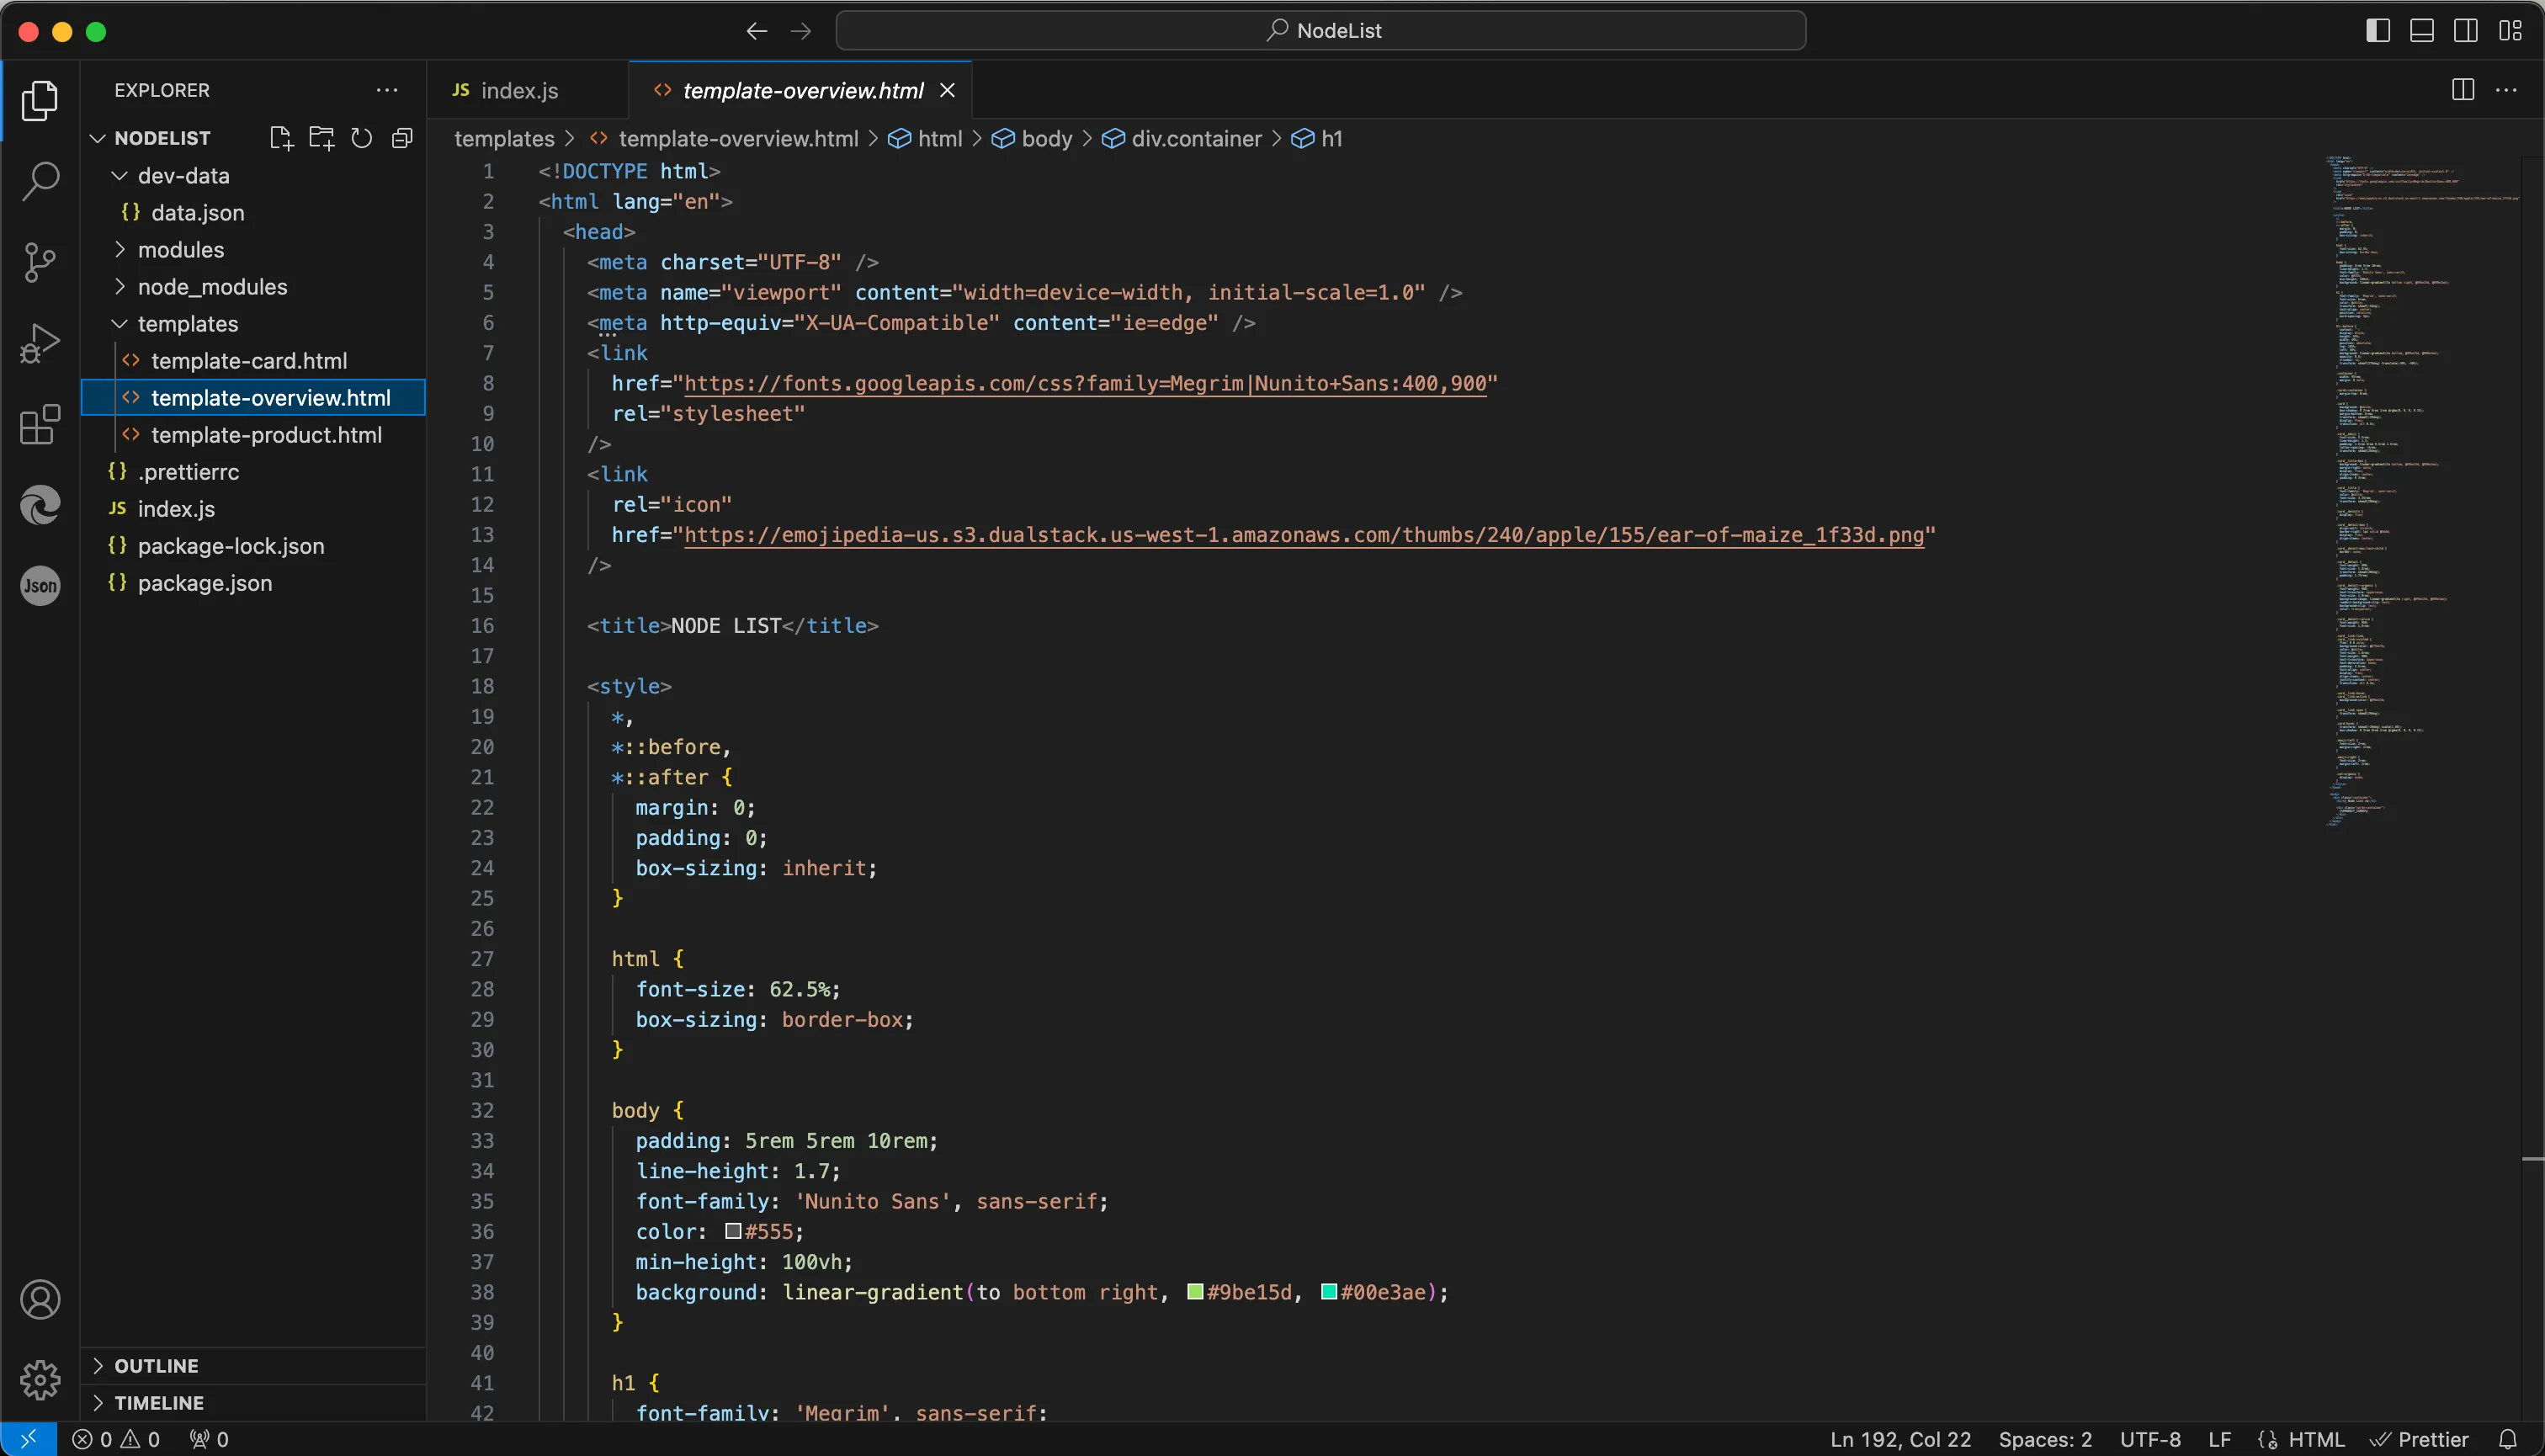
Once the web page is opened from a browser, the ‘index.js’ file parses the JSON data in the ‘dev-data’ file and displays it on the ‘template-overview.html’.
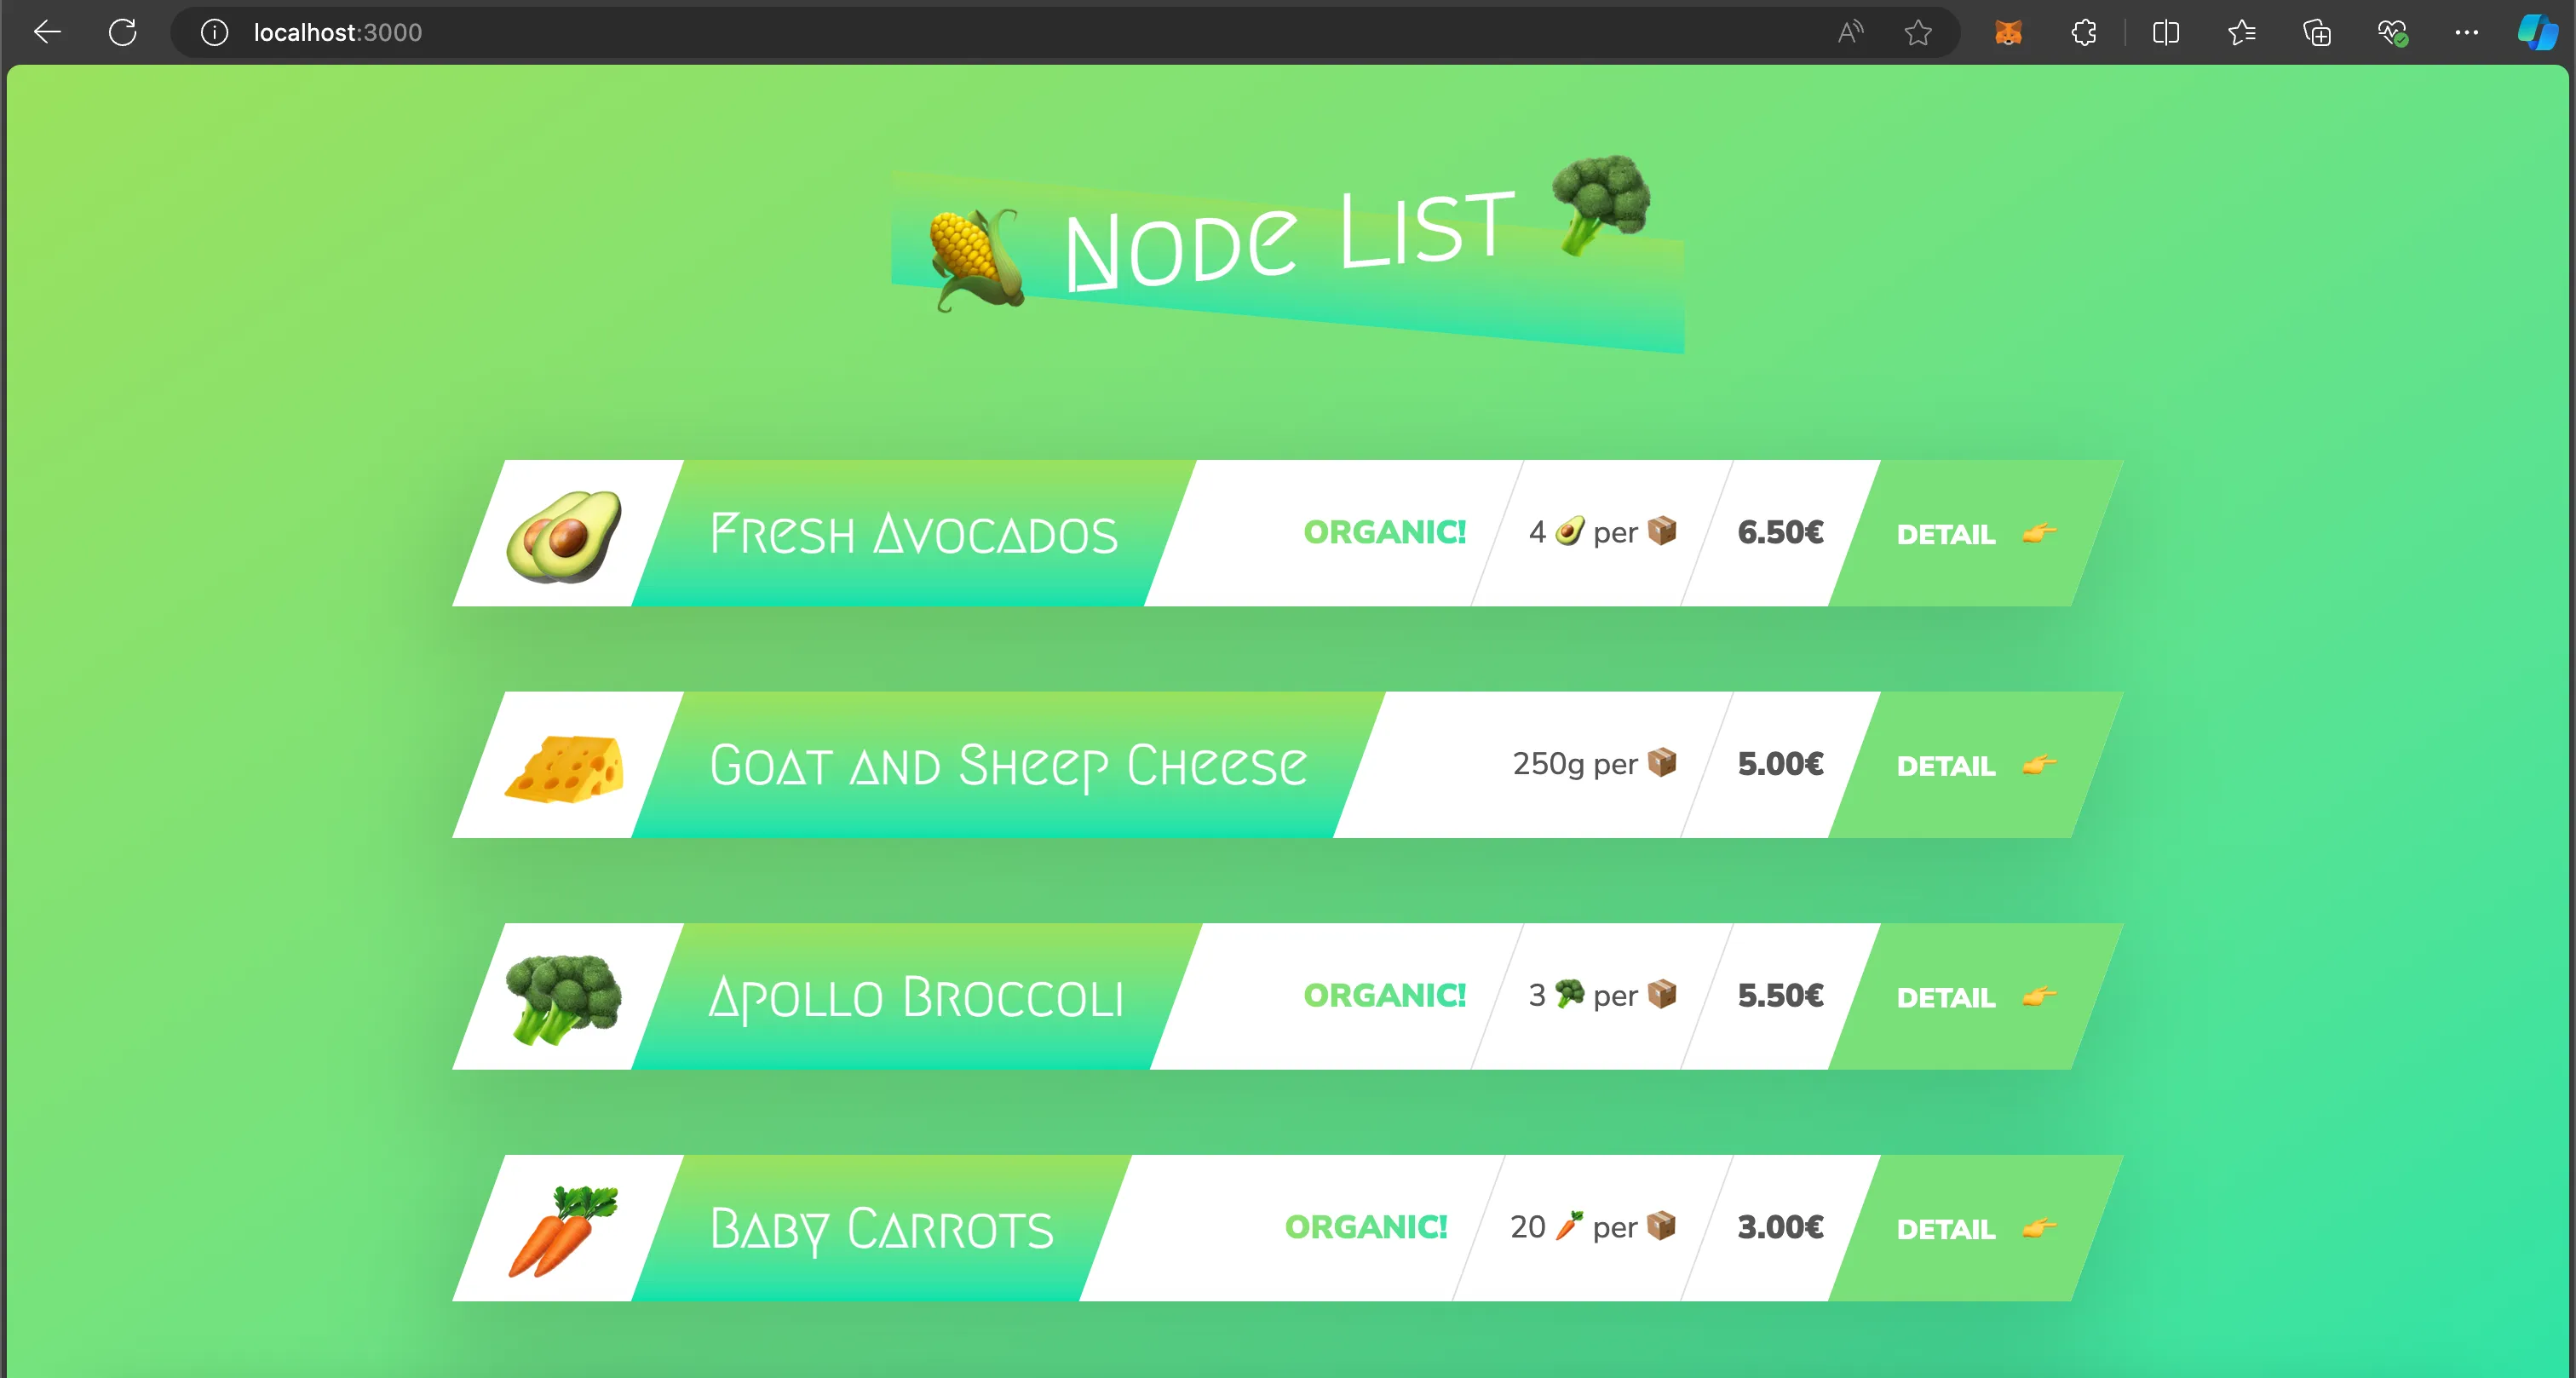
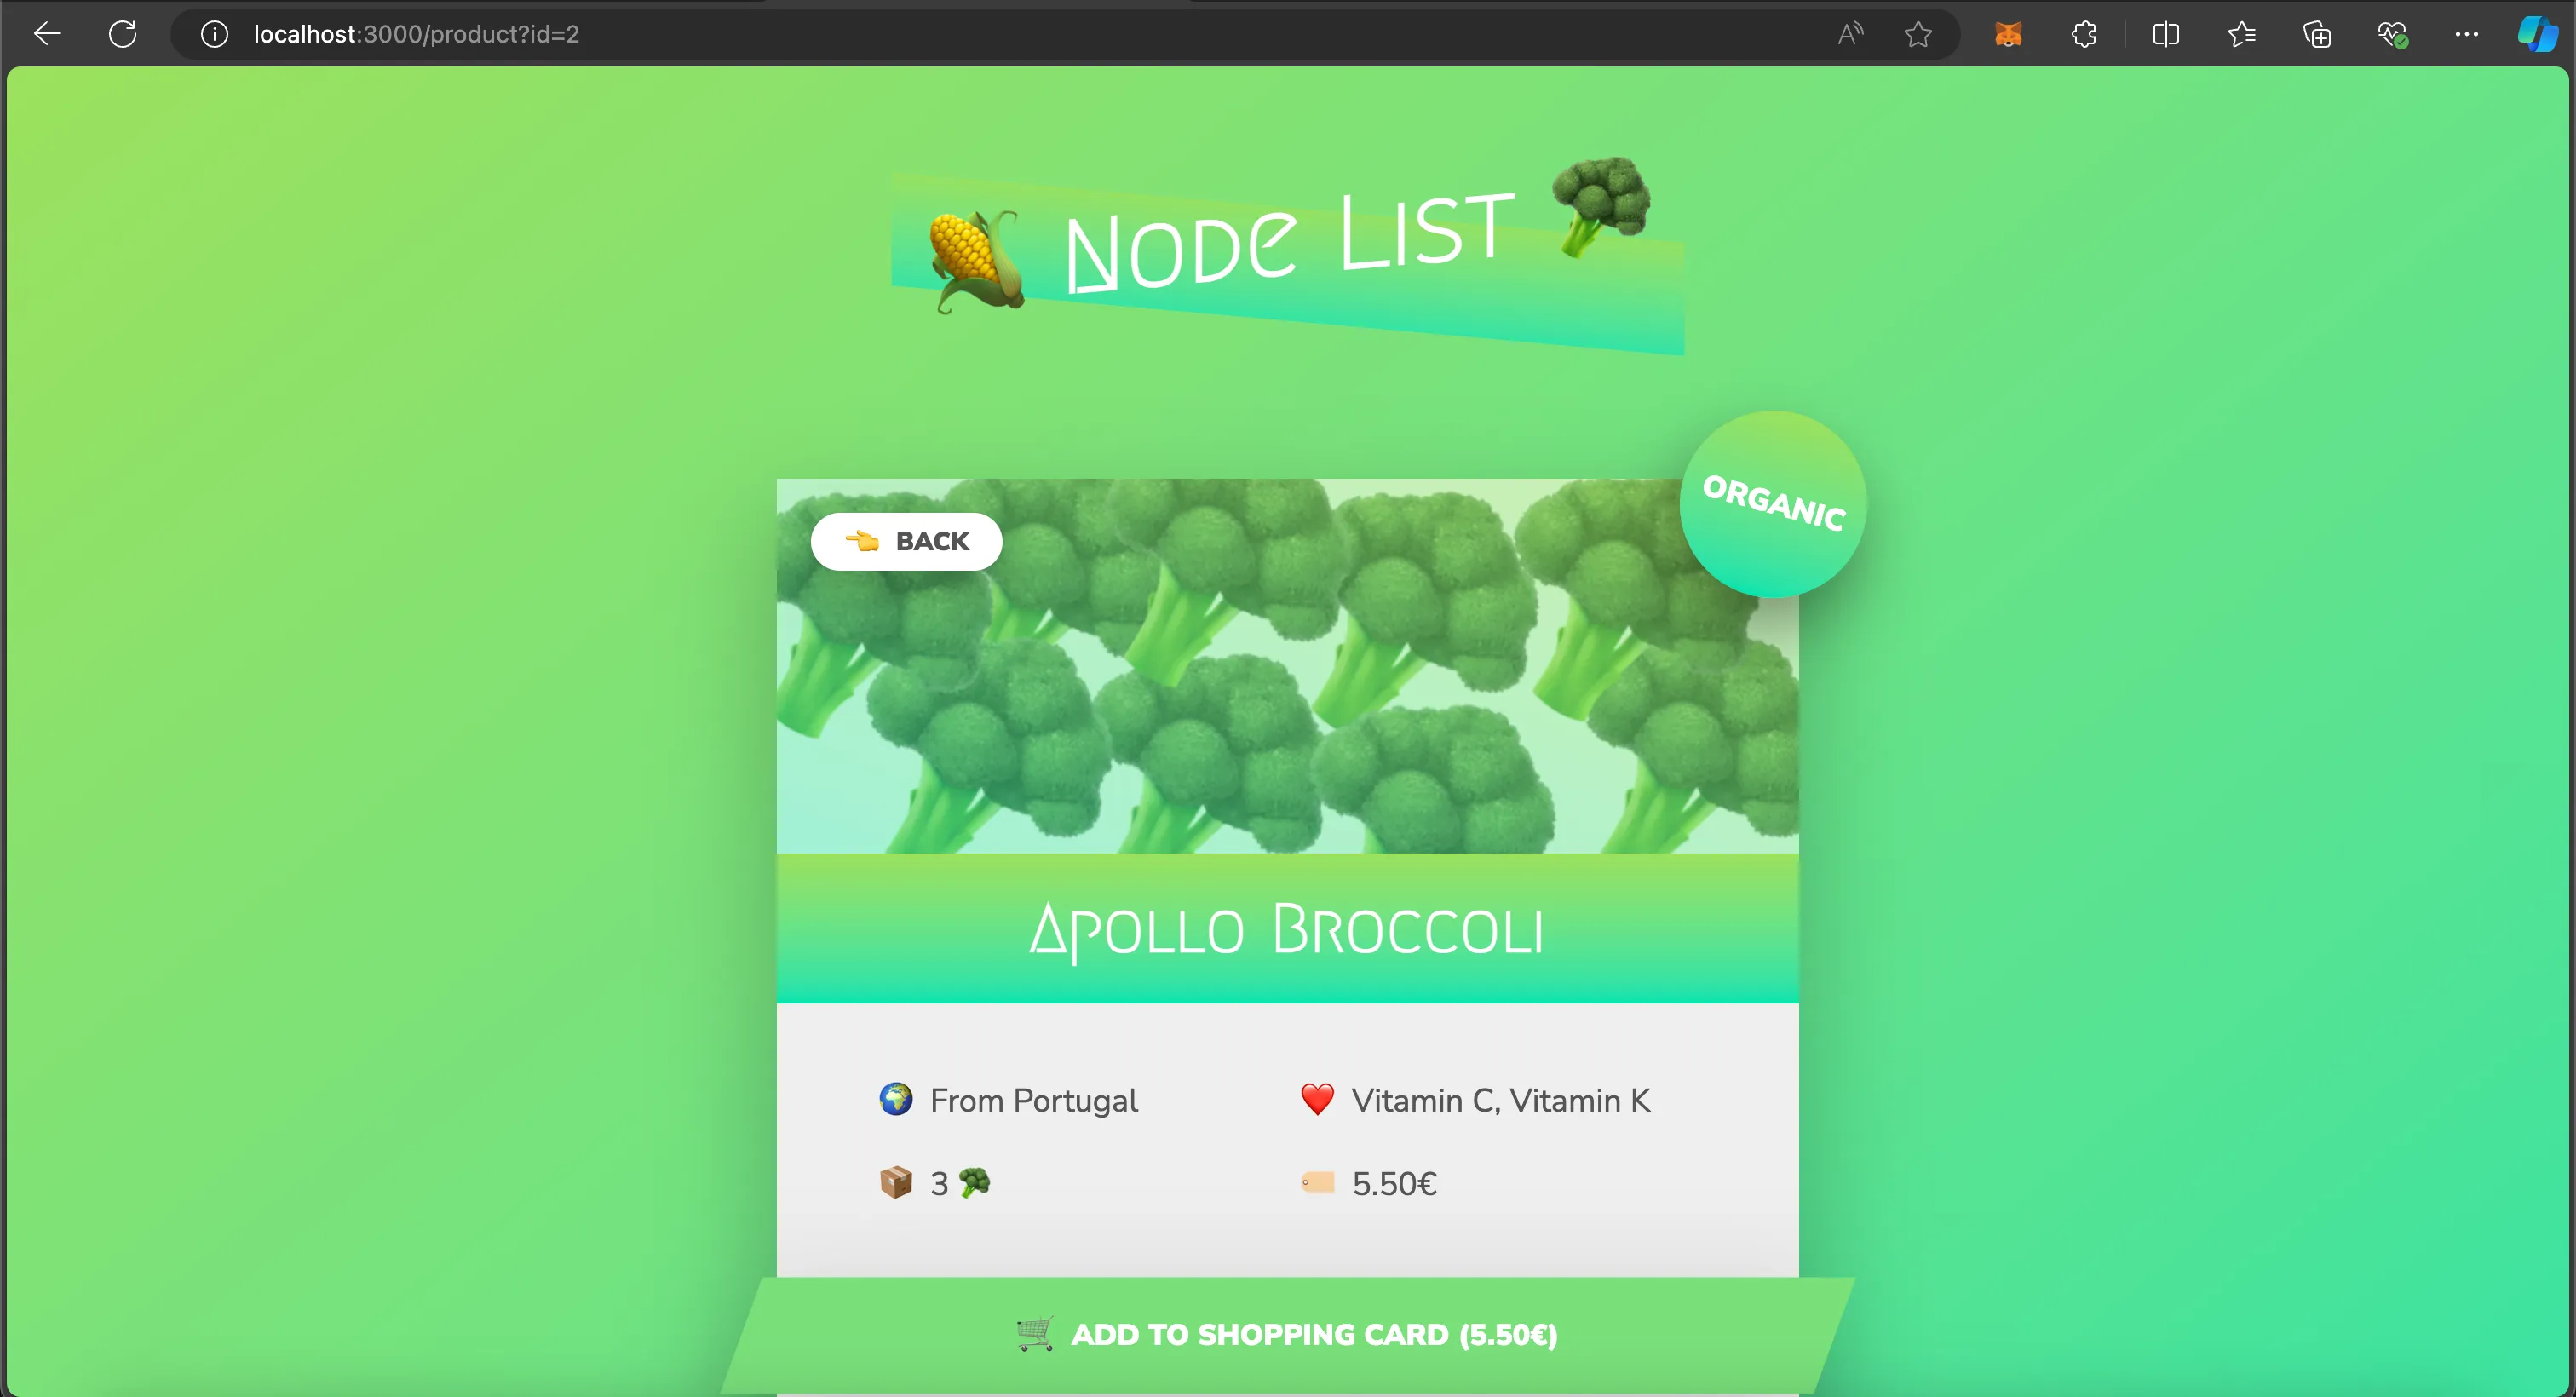
Clicking the ‘DETAILS’ button on any card will redirect the application to a new page, for example, “_http://localhost:3000/product?id=2_“, where the details of that card will be displayed.